
While very few people would ever dream of rewiring their house, many of the surviving cars from the 1960s and 1970s have been the victims of amateur electricians for decades. New stereo systems get spliced in. Old wiring cracks or gets chewed up by rodents, and you end up with constant shorts. These get fixed with a quarter wedged into the fuse panel.
All of that is just the baseline problem with old wiring harnesses. Add on the huge new sound systems, the need for all sorts of electrically powered engine accessories, electric cooling fans, and high-draw headlight systems, just to mention a few culprits, and you end up with a system that is never going to be able to handle the load that will be demanded of it once restoration is complete.
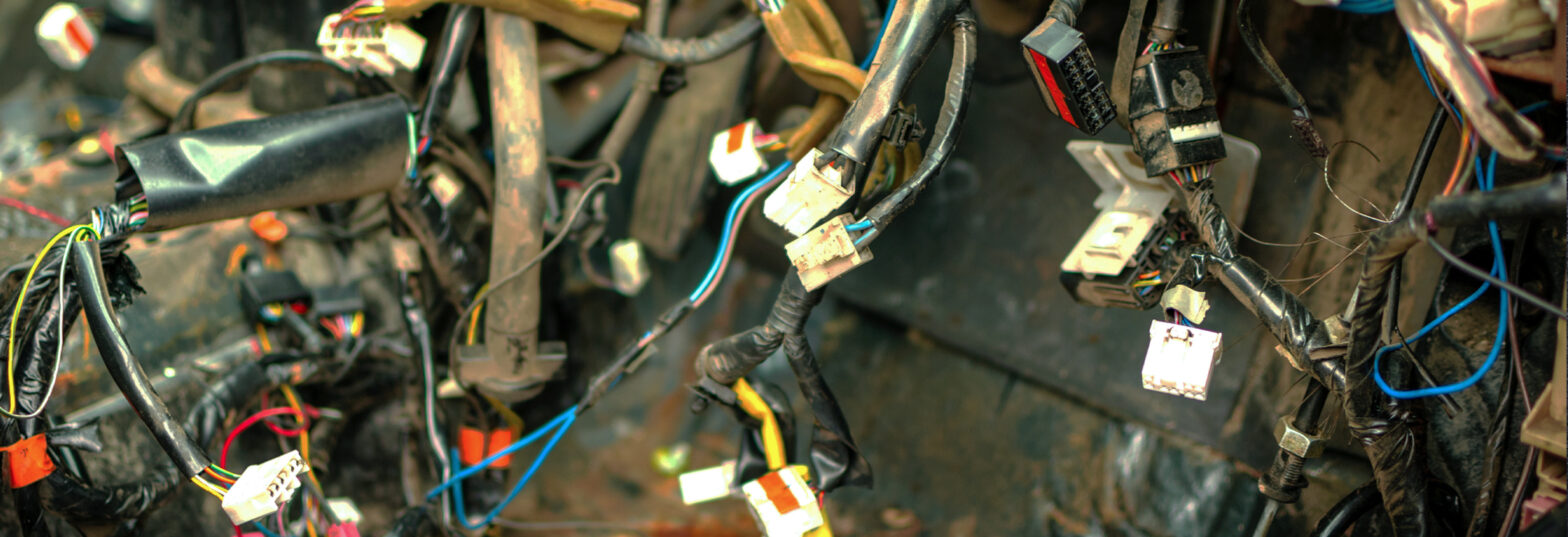
Because wiring harnesses are never easy to get, a lot of people try to make do by splicing in new additions to an old system. This often proves to be a huge mistake, even if it is an understandable one. Nobody likes the idea of completely disassembling their dash so they can wrestle an octopus of wire through a series of tiny holes that seem very poorly designed for the purpose of getting the old wires out and the new ones in.
There are two general rules to keep in mind when dealing with wiring harnesses. The first is that newer vehicles have vastly more complex wiring harnesses than older ones. Eventually, they got so convoluted that most consumer-grade manuals don’t even publish them in full. They provide only certain parts of the puzzle. The second rule is that it is a lot easier to deal with wiring problems, particularly full harness replacements, at the front end of the car restoration project. The time to tackle wiring replacement is when your drive train is still sitting on the shop floor and your passenger compartment is bare.
Once you have your entire restoration project put together and you suddenly discover that your fuse panel is toast, you will have to remove things that were hard enough to install in the first place, stand on your head, and learn many new curse words as you try to retrofit a solution.
Of course everyone is anxious to get their new Boss 429 sitting on the mounts and see how the newly reupholstered seats fit, but taking care of some of the less glamorous work before you get to this stage can often save you a lot of time, money, and frustration.